


Cooking Risotto
The Art (and Patience) of Making Risotto

Cooking risotto is one of my favorites to do in the kitchen. I’ve never had any formal training, but love trying new things. About 5 years ago, I decided to try making risotto after reading online about how difficult it is to make—I wanted the challenge.se I had read on the internet about how hard it is to make and I wanted the challenge. It turned out so well that my family loved it and ate every last bite.
The one thing I’ll say about making risotto is that it requires a few things: proper ingredients, time, attention—and having a great partner to cook with you in the kitchen certainly doesn’t hurt either.
A few weeks ago was our church “pot luck” dinner after the service. We always try to make something and Heather had promised to make a spice cake for a friend’s birthday. We also wanted to bring something else, but it wasn’t until Sunday morning when we woke up and realized we had forgotten all about the pot luck. We scrambled around to get ready and then Heather quickly started baking. I told her I would help with the cheesy rice she was planning but then had the thought that we probably had just enough time to make risotto. I checked the pantry and we didn’t have all the ingredients to make risotto so I quickly rushed to the store. I also wanted to double the recipe from what I normally make so the below is actually enough to make a small pan of risotto and would typically serve around 10-12 folks generously.
The Ingredients
2 cup of Arborio rice
2 quart of chicken broth
2 small onion, finely chopped
4 cloves of fresh garlic, minced
1 cup white wine (this is optional but is a great deglaze)
4 tablespoons of olive oil
4 tablespoons of butter
1 1/2 cup grated Parmesan cheese (I prefer this to be fresh)
Salt and pepper to taste
Fresh parsley (for garnish and added flavoring)

Starting the labor of love that is making Risotto
Start by chopping up 1 small onion and 2 cloves of fresh garlic on a cutting board. This is where the extra hands come in very good too, otherwise you have to do a lot of the prep work before starting because you won’t have time to stop what you are doing to chop, grate, etc.
Sauté for Aromatics
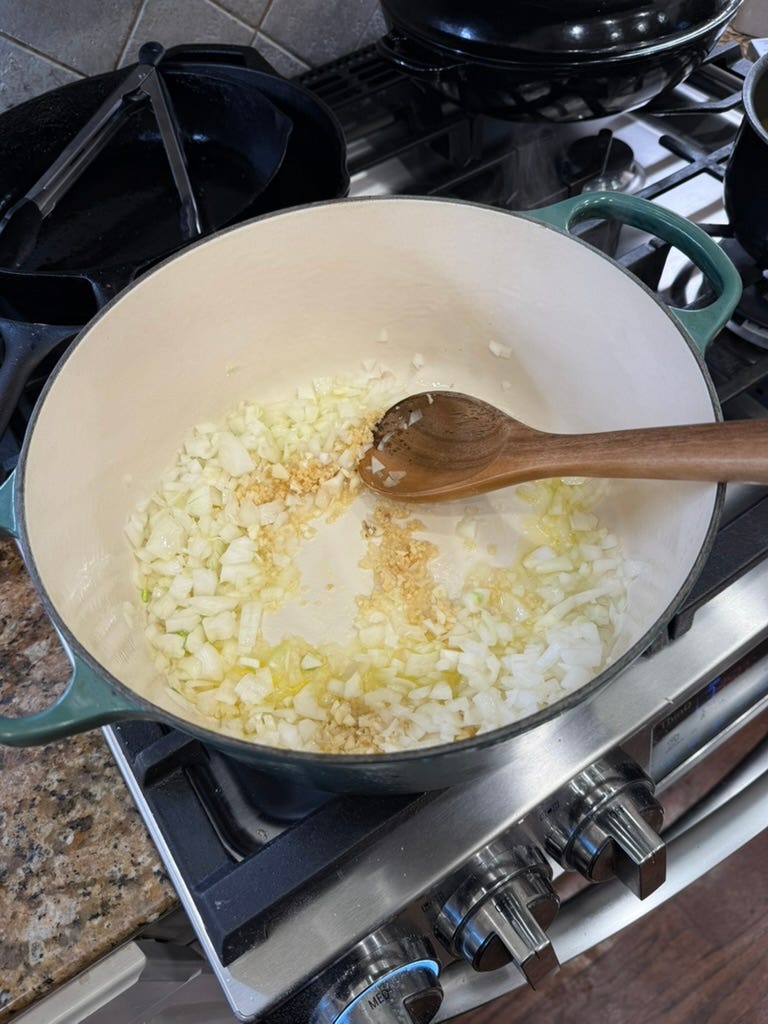
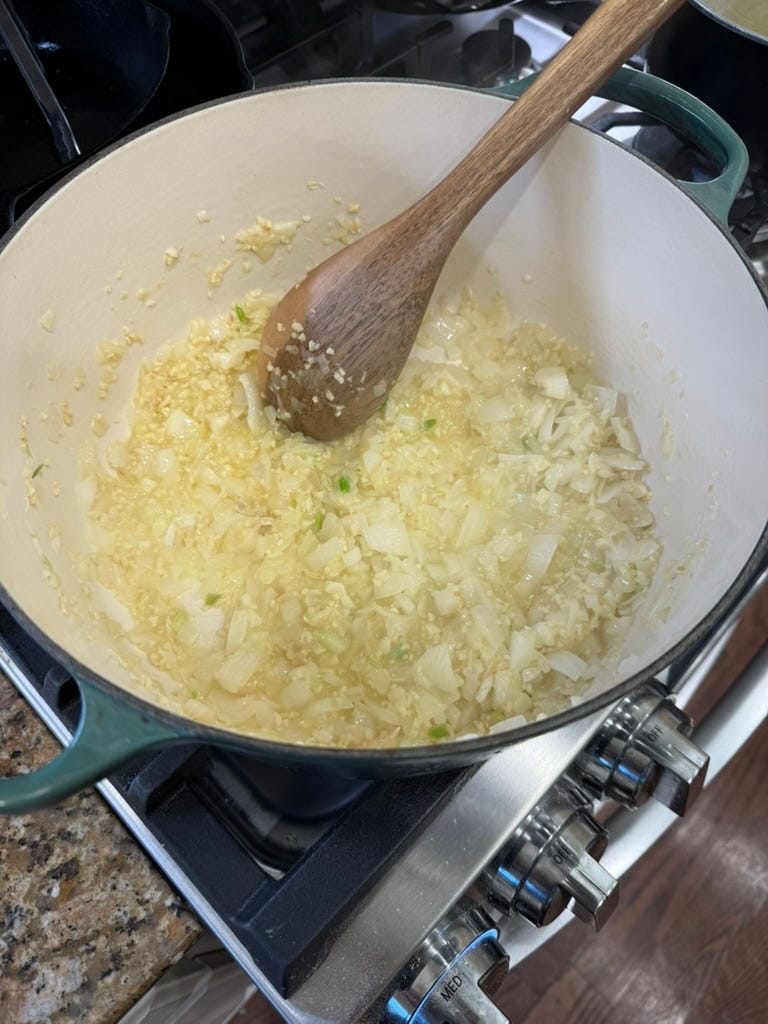
Heat olive oil and three tablespoons of butter in a heavy-bottomed pan over medium heat. Add the chopped onions and garlic, and sauté until they’re translucent and fragrant. Meanwhile, heat your chicken broth in a separate pot nearby to keep it warm while cooking.
Preparing and Toasting the Rice
It is very important that you do not wash the rice before adding it to the pan. Normally, washing rice removes excess starch, which prevents it from becoming sticky. However, for risotto, we want those starches to create a creamier texture. Arborio rice has a high starch content, and stirring while cooking gradually releases that starch into the broth, making the risotto rich and velvety.
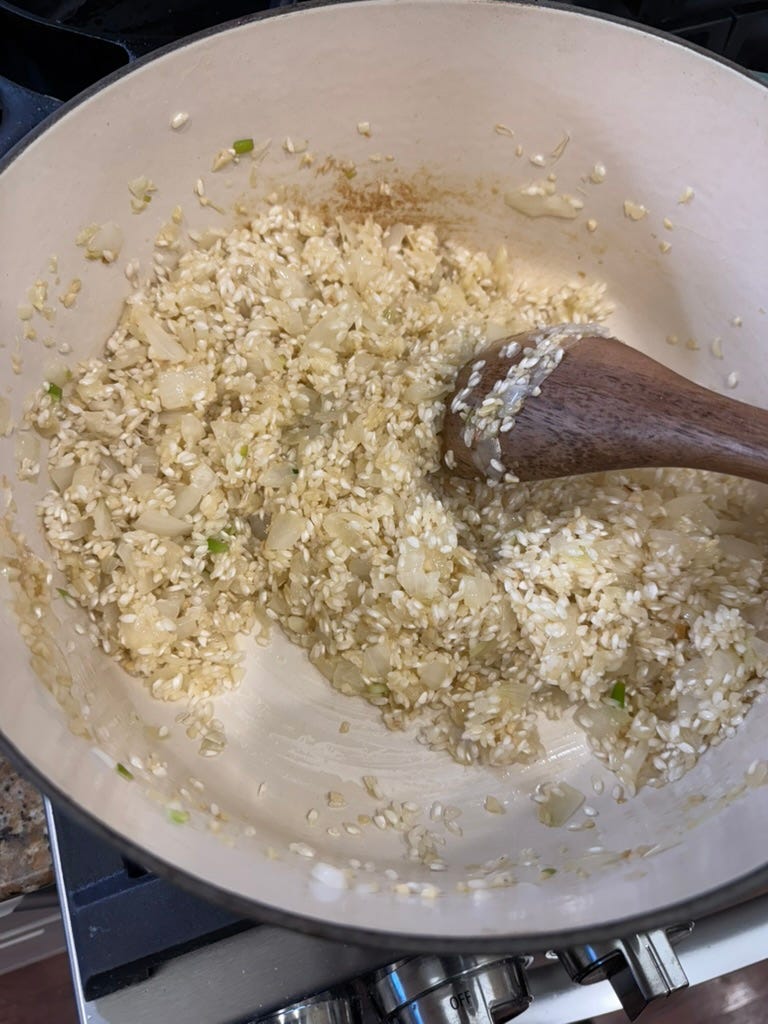
Add the Arborio rice to the pan, stirring constantly for about 1–2 minutes until the edges of the rice become translucent. This helps coat the grains with oil and enhances the flavor of the risotto
Deglaze
If you are following the recipe exactly and using white wine for deglazing, pour it in and stir until it is mostly absorbed by the rice, soon after the rice becomes toasty.

Deglazing enhances flavor by loosening the flavorful bits of garlic and onions that stick to the bottom of the pan (called ‘fond’). Adding liquid, such as white wine, helps dissolve the fond and incorporate it into the overall taste of the risotto. White wine also adds a slight acidity that balances the richness of the butter, cheese, and chicken broth, creating a more complex and well-rounded dish.
For anyone who doesn’t want to use white wine (or doesn’t have any on hand), you can deglaze with a small amount of chicken broth or a splash of lemon juice for a similar effect.
Slowly Pour in the Broth
Now comes the slow part of making risotto—gradually adding the broth. The first few times I did this, I always had an immediate worry: “Oh no, did I just add too much broth?

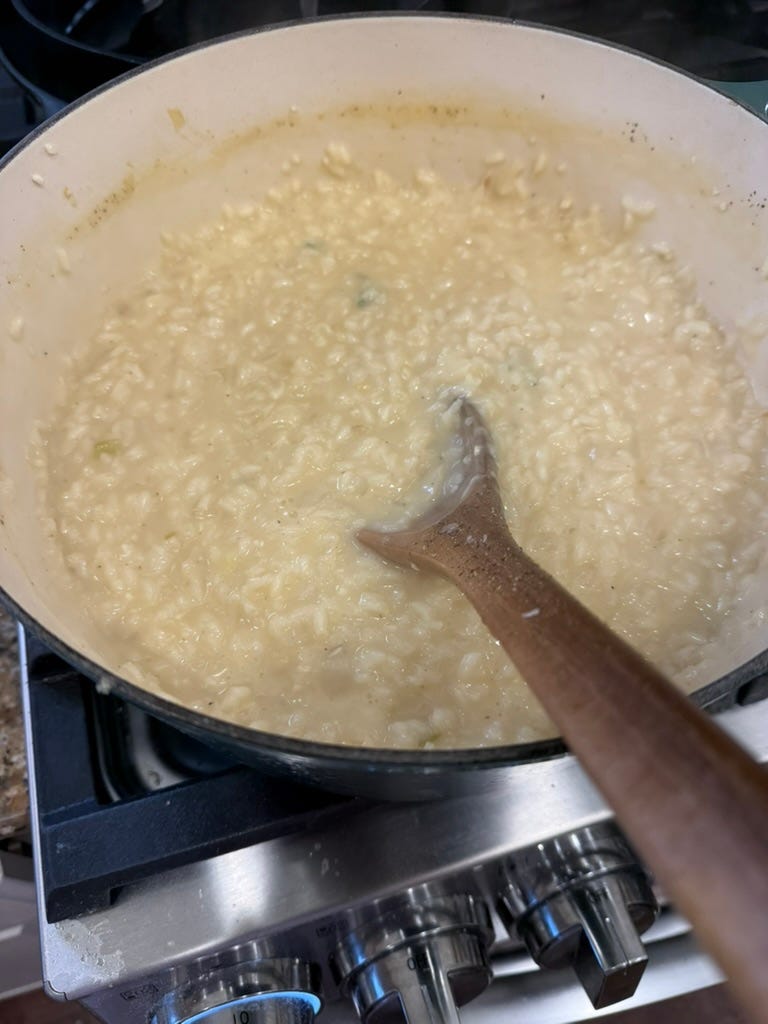
Add a ladleful of warm broth to the rice, stirring frequently. Keeping the broth warm is important so the rice doesn’t have to start the cooking process over each time you add more. Once the broth is mostly absorbed, add another ladle. Repeat this process, allowing the rice to slowly absorb the liquid. This step takes roughly 20 minutes, though it may feel longer since you cannot leave the rice unattended during this time.
It may seem like you’ve added too much broth or that it won’t absorb, but don’t stop stirring—you’ll be fine!
Finishing Up
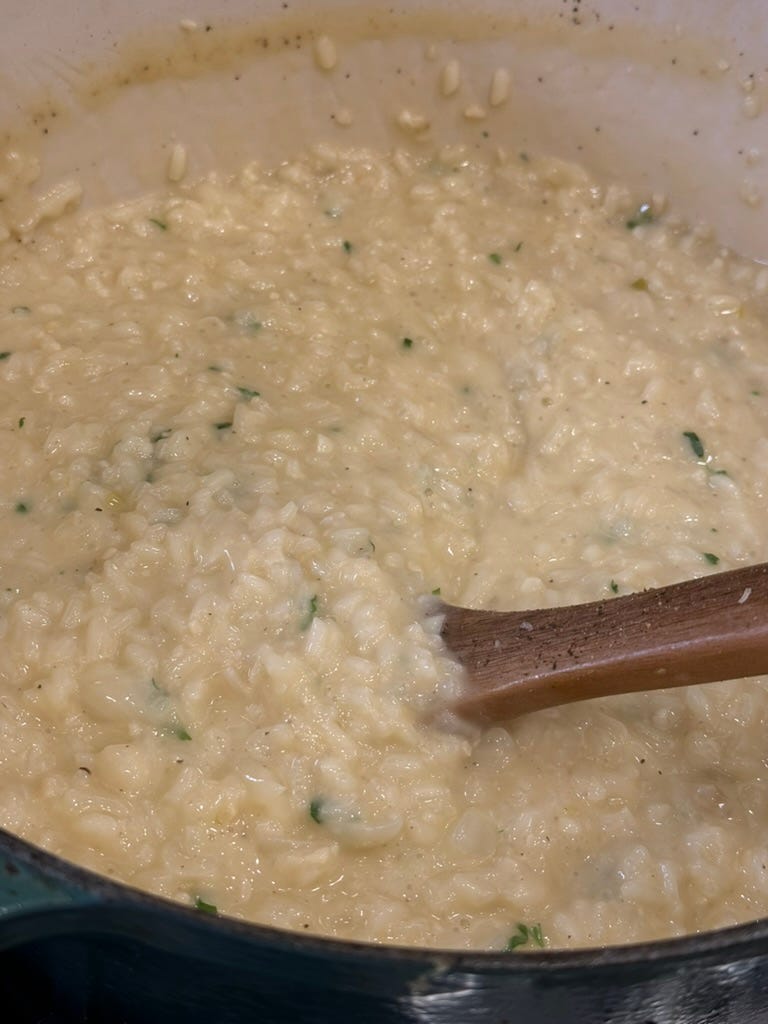
The risotto is ready when the rice is creamy but still has a slight bite to it (al dente). Taste to ensure the texture is right, and season with salt and pepper until you achieve the perfect flavor.

I like to add a little parsley to the risotto for an extra touch of flavor and color.

Stir in the additional tablespoon of butter and the cup of grated Parmesan cheese. The combination of butter and cheese will make the risotto extra creamy. Adjust seasoning if needed.
Risotto is best served hot, and we love using our homegrown parsley as a beautiful garnish to top it off.